Wiki
Timesheet
Timesheet reflects the time entries of projects and tasks. Timesheet calendar navigation lets you easily jump to the exact day/time period. The actual and planned time spent feature allows comparing the time limits assigned for the exact project and task.
The Actual Time shows the time entries for the particular week and month, whereas the Planned Time shows the employee timeslot hours per week and month.
Time Entries
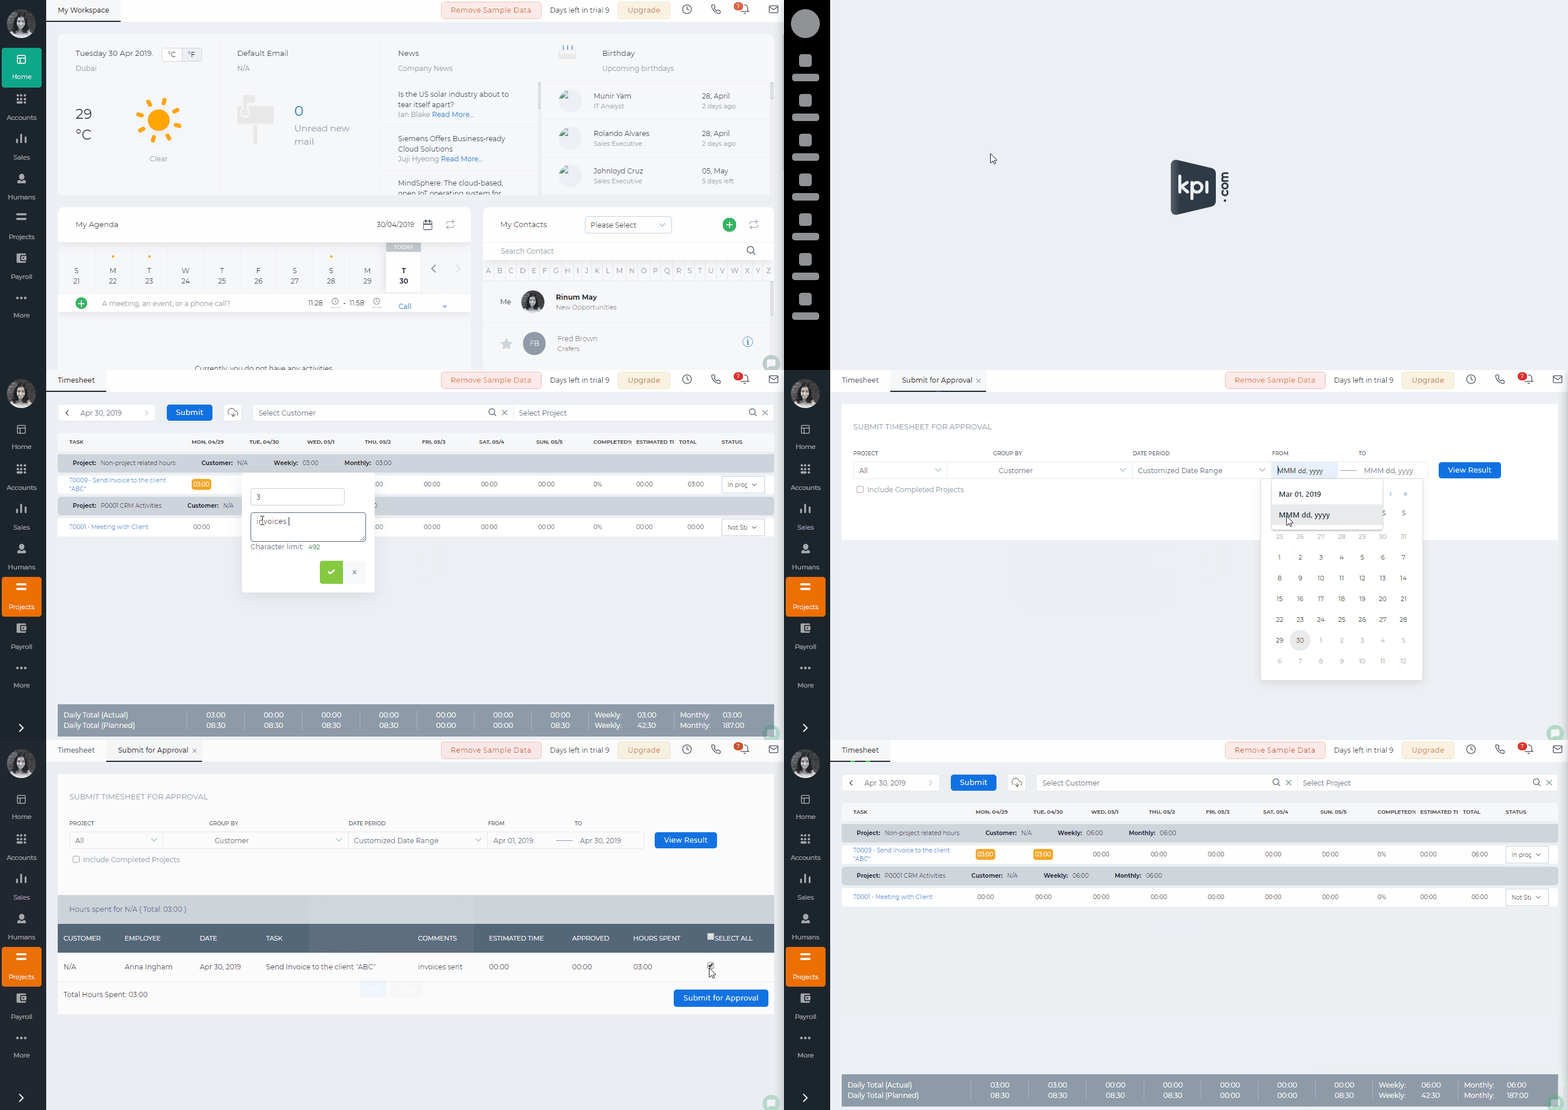
Time hours can be entered by clicking the boxes under the weekdays and pressing enter. While entering time you can also leave your comments.
Submit the Timesheet for Approval
The pre-filled timesheet form can be submitted for project manager`s or backup manager’s approval using the Submit button.
\While submitting the timesheet for approval, you need to choose the project and the period of the timesheet.
Your timesheet request will be reflected in Project Manager’s, Backup Manager’s and Administrators’ approval list.

Status of Time Hours
Once you register the time in your timesheet, it will be reflected in black meaning it has been successfully registered.
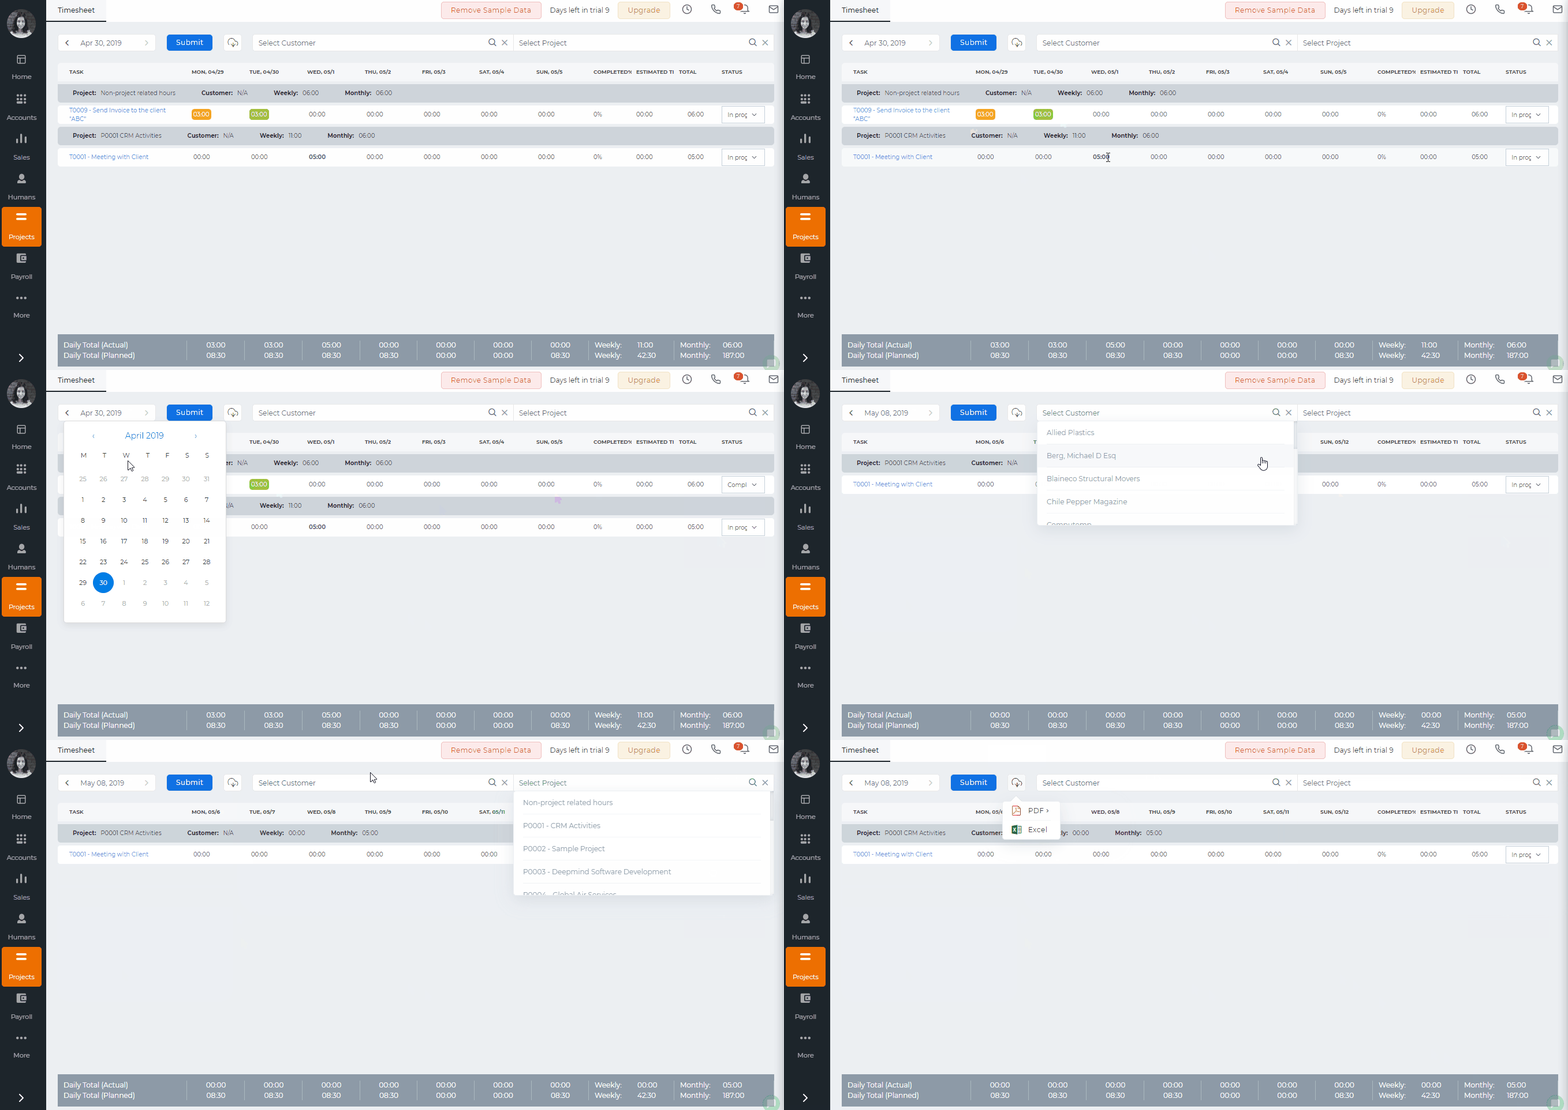
Submitted time entries for approval are shown in orange, while approved hours are in green and rejected hours in red.
If the time has not been successfully saved, the system will show it in cursive.
Change the Status of Project/Task
In timesheet pane, you can change the status of a task. To do so, click the field under Status column of project list.
Export the Timesheet
You can export the timesheet as PDF and Excel versions by clicking functions in the Actions dropdown on the top menu of the Timesheet page.
Timesheet Filter
You can filter your timesheet by Client Name, Project Name and Workstream by choosing the options from the dropdowns on top of the timesheet page.

Updated by Aziza Israilova,
April 2019


